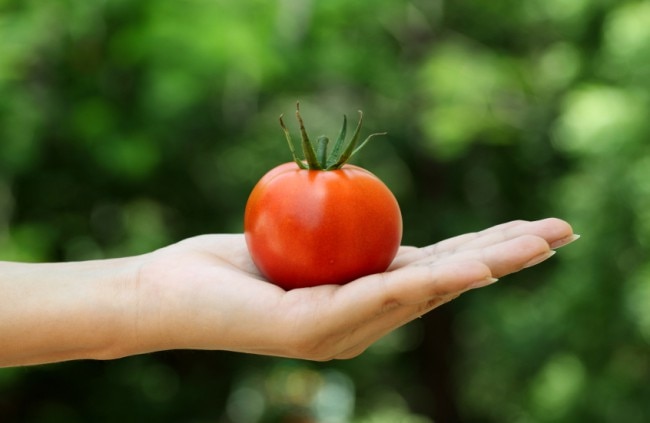
Tomatoes are a fruit. If you don’t believe me, ask my kids. They eat them like apples, whole fruit in-hand, chomping away at those suckers like they’re the candy nature intended them to be. Honestly, I’m baffled by this behavior. Tomatoes were gag-inducing until I was well into my twenties. How I achieved this marvel of parenting is beyond me.
That being said, we go through tomatoes like crazy. At the rate at which my family goes through tomatoes, we could single-handedly start a nationwide shortage. So, I decided it was in my best interest to grow my own. And you can, too! (Caveat: This may not work with all store-bought tomatoes as some produce is genetically engineered to prevent you from growing your own). I used a few tomatoes from my sister’s yard for this gardening project.
Step One: Ferment the Seeds
First, you’re going to ferment your seeds. This cleans the slimy protective pulp from them and prevents the transfer of any diseases the tomato may have been carrying. Begin by scraping out the pulpy part of the tomato containing the seeds. Once you’ve got 10 to 20 seeds, you’re ready to start.
Take a small glass bowl and fill it about an inch deep with clean, fresh water. Put your tomato seeds – goop and all – into the water and cover tightly with plastic wrap. Poke a few holes through the top for ventilation. Set in a warm place in your house (I use the top of the hutch in my kitchen), and allow the seeds to ferment for 2 to 3 days. Once a day, use a small spoon to lift away any scum that has developed on the top of the water. This is the natural fermentation process in action.
After the third day, carefully remove the seeds from the water and pat dry with a paper towel or clean cotton tea towel. Set the seeds on a paper towel or paper plate and allow them to dry completely over the next few days (this could take up to a week, depending on your climate).
Step two: Sprout the seeds
Once dried, your seeds are ready for spouting! Get some organic soil and plant your seeds in a small cup, pot or biodegradable seeding pot. Cover loosely with a plastic bag (I recommend a sandwich size bag), this will mimic a greenhouse, although if you have an actual greenhouse you can certainly put your seeding pot in there. Keep the soil moist but do not over water.
When the seeds have sprouted you can pull out any that look like they might not make it, and plant the best 3-5 sprouts in a medium-sized pot. Make sure the plant is able to get full sun throughout the day and water as needed. The plants may take up to six months before they begin flowering and producing fruit, depending on the season, sun, and climate.
Now you’re growing your own food!

