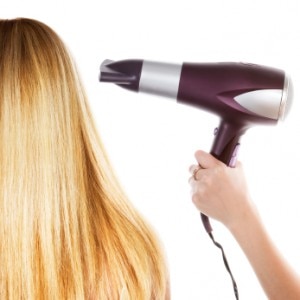
Next to chocolate, and maybe a long, uninterrupted mid-day nap, a salon blowout is the most indulgent, instantly mood-lifting thing on Earth. Never had one? It goes something like this: You drag your worn-out, frazzled, ragged-looking self into a salon. Thirty minutes later you burst through door bright-eyed and ready to take on the world with a headful of voluminous, glossy, perfectly smooth hair bouncing off your shoulders. It’s pure”¦ bliss.

But blowouts, unlike a candy bar or a coveted snooze, aren’t easy to come by. You’ve got to set it up, squeeze it in and shell out the cash””which can set you back up to $100 at some higher end salons or $30 if you hit up one of the popular new “blowout bars,” establishments that don’t mess around with cuts, color or anything but drying hair for dazzle.
Mood boosting as they may be, most of us don’t have enough room in our budgets to splurge on blowouts on a regular basis. That’s why you need these tips to recreate your own professional salon blowout, right at home. Don’t be nervous! Believe me, if I can do it, so can you.
Step 1 ““ Wash & Condition
First, the easy part. Suds up with shampoo and follow with a light conditioner that won’t weigh down your hair, such as Giovanni Route 66 max Volume Conditioner designed specifically to add volume to limp, lifeless locks. Rinse well because conditioner left stuck to strands can lead to a greasy, non-bouncy look.
Step 2 ““ Prime & Protect
After patting hair dry with a towel, comb through a dollop of Giovanni Styling Mist This amazing product actually helps speed up blow-dry time, lessening your exposure to damaging heat, while a unique protein blend works to plump and strengthen hair strands and tame frizz, static and fly aways. Avoid using mousse, gel or other styling products that will wreck weightlessness with residue.

Step 3 ““ Divide & Conquer
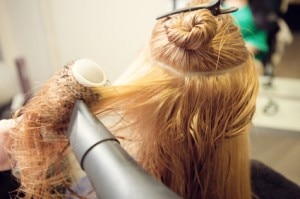
If you have a lot of hair, start with a quick pre-blow to remove some of the moisture. Focus on the roots (which brushes don’t reach well), tousling tresses with your fingers as you aim the dryer downward until some of the dampness disappears. Next, divide hair into sections, using clips or pony tail holders to secure into mini buns””two in the back (one above the other) and one on each side.
Step 4 ““ Bring in the Brush
A round brush is best for blowouts, but some women prefer a paddle brush, which creates a straighter look. Working one section at a time, pull the brush through your hair, keeping it taut as you move the dryer nozzle up and down the length of the section. Keep in mind that ends dry quickly, so concentrate on higher-up areas first. When one mini-bun section is dry, move on to the next. It really is that easy! If you’re struggling to reach back sections, try working from the sides rather than stretching arms up and behind your head.
Step 5 ““ Smooth & Set
Seal in your new style with a spritz of Giovanni Shine of the Times Finishing Mist, the perfect flyaway flatten er, or Paul Mitchell Super Clean Extra Finishing Spray, which not only helps keep hair in place with all of its fabulous fullness and shine but also protects against sun damage!
