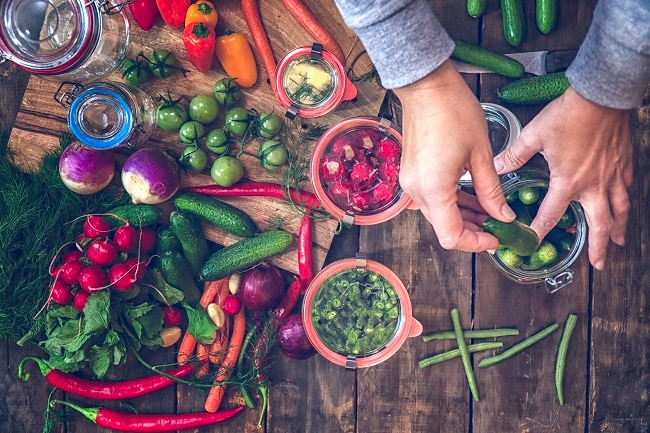
The end of summer means you probably have an abundance of growth in your garden, which is a great thing! But there are only so many cucumbers that you can eat in a week—so when you’ve got an excess, what do you do?
After sharing fresh fruits, veggies and herbs with neighbors and friends, you still might find yourself left with more produce than you can chew. Instead of tossing them in the can, opt for canning! Canning is an ideal option for gardeners looking to preserve fruits and vegetables without having to take up valuable space in the fridge and freezer. Check out the following five steps to preserve your summer harvest:
1. Gather supplies
Collect canning jars of various sizes that will easily hold the produce you have. If you’re on the thriftier side, look for jars at garage sales throughout the year to have a reliable supply on hand. Remember that even though you can reuse canning jars, you’ll need to buy brand new lids and seals for each use.
2. Pick at the peak of harvest
Bringing in baskets full of green beans can be overwhelming but allowing produce to over-ripen will only hurt in the long run. Make sure to pick things right when they are ready. Check the back of the seed packets and use a calendar to make sure that you are harvesting food at the correct time.
3. Prep, prep, prep
The most important part of canning produce is making sure that you have prepared everything well. Canning is a time-honored tradition that is great for preserving food but it does come with a few risks. Make sure that you read up on how to can your desired produce as well as different recipes to try. Clean your work area and make sure to sanitize all of the jars, utensils, lids and seals before starting the canning process.
4. Start canning
At this point, you can start the canning process. Make sure to follow desired recipes for brining liquid as well as the best ways to skin a tomato. Cut and skin your produce to the desired size and place the produce and liquid in the jars leaving a little bit of room at the top of the jar. Place the sanitized lids and seals on top and then use a pressure cooker to seal the jars.
5. Check the seals
As the jars cool off from the pressure cooker, you may hear the slight pop of the lids completely sealing onto the jar. This is normal and something that you want to hear in the canning process. As the contents of the jar cools, the lid seals creating a perfectly preserved jar of food that is shelf stable. You need to start the process over if you don’t hear the pop or notice a seal that can still be pushed down in the middle.

