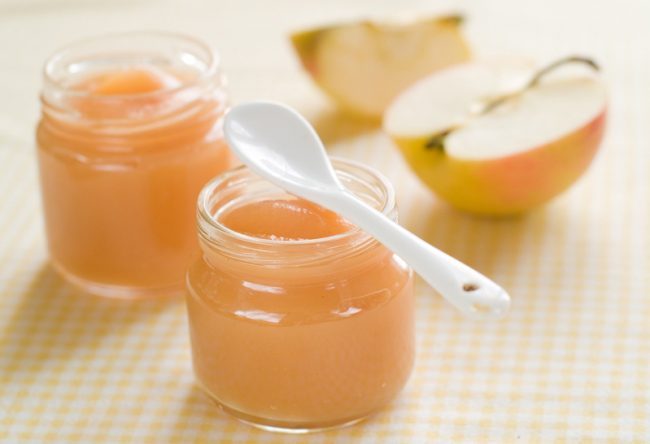
As parents are becoming more and more aware of the importance of knowing not only the ingredients in the food they feed to their kids, but where it is sourced and how it is grown, interest in homemade baby food is on the rise. It can be challenging to know if you can trust commercially produced baby food. Unreliable sourcing and cross contamination are always a risk. For many parents, the safest and most reliable, not to mention most cost effective, option is making baby food at home.
1. Step 1: Getting started
Having a plan ahead of time is always best, as you can streamline the process and prepare food in batches. You will want to start by choosing the method in which you would like to store your baby food. There are a variety of products on the market to choose from, some specially made for storing homemade baby food. No matter what kind of container you chose, be sure that any plastic is BPA-free. You can even use small glass mason jars which are safe and reusable.
Step 2: Prep your produce
Decide which fruits and vegetables you will be preparing and if you will be mixing any of them. Recipes are not necessary when preparing your own baby food, though if you are just starting to introduce your baby to solid foods it is best to choose mild fruits and vegetables that are easy to digest.
Good beginning solid foods include sweet potatoes, carrots, peas, apples, bananas and pears. You will want to be sure to use organic produce. If you have not been using organic, do not worry, studies from the National Institute of Health show that the presence of organophosphorus pesticides in children’s urine decrease to non-detectable levels after less than a week of eating organic produce.
Step 3: Make the baby food
Once you have chosen your method of storage and planned your foods, you can create multiple servings of fresh, organic baby food in just one afternoon. While there are some products made specifically for pureeing food, it is perfectly fine to use the blender or food processor you already have in your home. Just be sure to puree the food as smooth as possible for first time eaters.
Vegetables may be prepared either by roasting or boiling, depending on the type of vegetable and desired consistency. Boiling will produce a milder, smoother baby food while roasting will give you a more savory flavor and sturdier density. If you have a more experienced eater, you can skip the blender and use a potato ricer for a thicker consistency or mash the vegetables with a fork for a heartier, chunky texture.
Fruits like apples and pears will need to be blanched or diced and cooked until they have softened enough to puree. Bananas are ready to go just as they are, though it is important to keep the strings of peel which often cling to the fruit of the banana out of the puree as they can be bitter and do not puree well.
Step 4: Store your supply
Once you have prepared your foods, storing is the last and most simple step in your journey to homemade baby food. Portion the appropriate amount of a single serving into each container, then refrigerate or freeze. If you are using glass containers or mason jars, but sure the food is completely cooled before you place them in the freezer as the rapid change in temperature may cause cracks in the glass. Your homemade baby food will stay fresh up to three days in the refrigerator and two to three months in the freezer.
Tip: the best place to buy organic foods & snacks is at Vitacost.com!

