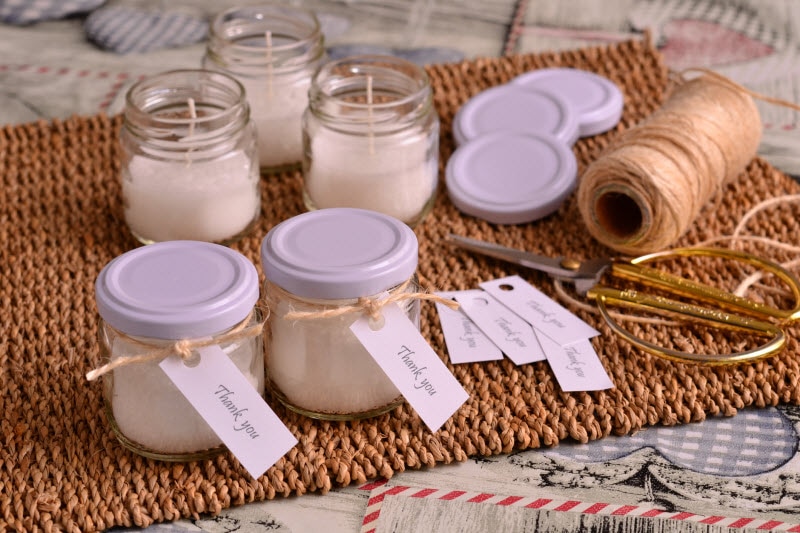
Candlemaking is an incredibly rewarding craft — a perfect blend of art and science where you are the sole designer. Think of the joy of creating a heartfelt gift: a custom-scented candle infused with essential oils that perfectly captures the memory of a summer evening for a friend, or a warmly spiced candle made just for your own living room during the holidays. Each flicker of the flame will carry a piece of your personal touch.
This guide will walk you through using healthy, all-natural alternatives to create candles that burn brightly and cleanly. Forget the harsh chemicals; embrace soy, beeswax or coconut wax. You’ll gain the skills to select the perfect wick, mix luxurious fragrances, and pour flawless, high-quality candles. Get ready to have fun, express your creativity and illuminate your world with light you made yourself!
How to Make Candles
Gather your supplies
Making your own candles is fairly easy. The entire process typically takes just a couple of hours. Here, we’re going to focus on jar candles because they don’t require specialized tools or molds.
Before you embark on your candle making journey, gather the following supplies:
Half pound of wax (per candle): Choose either beeswax, which has its own subtle scent, and is less expensive soy, which generally accepts added fragrance more easily. Candle wax is usually sold in pellet form, but if you happen to buy a block of wax, chop it into small pieces before melting.
Large wick(s): Candle wicks are generally available in small, medium and large sizes, but large tends to work best for jar candles.
100% pure essential oils: These are key to creating your desired aroma and atmosphere. And because they’re in their pure, organic form, these oils won’t leach potentially hazardous chemicals into your home when heated. Choose relaxing lavender, invigorating peppermint, cheerful orange or any other scent that speaks to you!
Add-ins: We’re talking herbs, dried flowers, twigs and any other decorative elements you’d like to incorporate in your homemade candle(s).
Double boiler: Warning: Do not attempt to melt the wax directly in a pot as the flame is simply too hot.
Mason jar(s): Reuse jars from jellies, pickles, tahini, nut butters and sauces or purchase them at your local craft store.
Miscellaneous supplies: Also grab a thermometer (for taking the temperature of the wax), a spatula (for mixing the wax as it melts), paper towels or rags (for prepping your workspace) and some pens (for securing the wicks).
Candlemaking steps
Follow these simple steps to make eye-catching, aromatic Mason jar candles for your home—or to give to friends and family members!
1. Prep your work space.
Line your counter with paper towels or rags to protect it from hot wax, and set your other supplies within easy reach.
2. Melt the wax.
Remember, you will need to melt a half pound of wax for each jar candle. Using the double boiler method, add a decent amount of water to the bottom pot. Add wax to the top pot and allow it to met, stirring with a spatula to break up any large chunks. Melt for 10 to 15 minutes at 160 to 170 degrees F. If the temperature exceeds 170 degrees F, remove the pot from the heat.
3. Stick your wicks.
Find the metal tab on your wick and dip it into the liquid wax as it melts. Then adhere the hot wax on the wick to the bottom of your jar. Be sure to act fast as wax cools and hardens rather quickly!
4. Add fragrance and flare.
When your wax is melted, stir in your essential oil and add-ins. Directions on the product packaging will often include how much oil to add. Let the mixture cool for a few minutes until it reaches between 130 and 140 degrees F.
5. Pour and secure.
Now you’re ready to transfer your wax to the jar. Gently hold the wick in place in the center of the jar and pour most, but not all, of the wax in. Next, rest your pen across the top of the jar and gently flop the top of the wick over it.
6. Cool and complete.
Let your candle cool for a few hours. At this point, you might notice a small depression in the center. Reheat the remaining wax and use it to top off your candle. Allow the candle to dry once more, and trim your wick so it extends approximately one-quarter of an inch past the wax.

