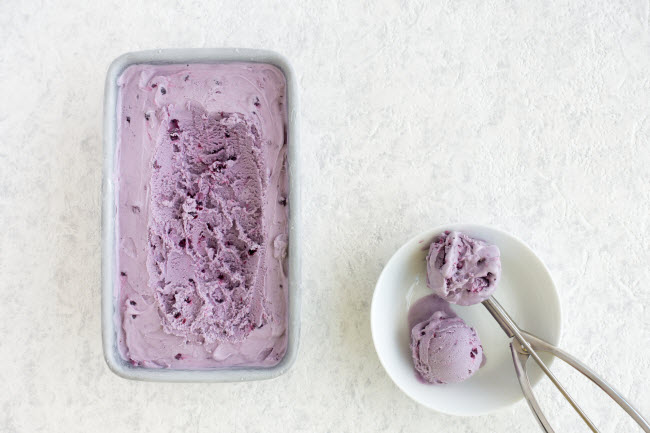
There’s nothing like a scoop of cold, creamy ice cream on a hot summer day to make the season seem more enjoyable and the heat more bearable. With endless flavors to choose from, there’s an ice cream out there for everyone—including those who prefer dairy-free ice cream!
Whether you’re trying to eat less dairy, or you are vegan, lactose intolerant or simply prefer dairy-free options, there are many dairy-free ice creams to choose from at supermarkets today. But it’s also easy to make your own dairy-free ice cream. Just a few kitchen tools are needed – and not even necessarily an ice cream maker (although they do make the process a bit easier).
While it may seem intimidating, don’t worry! Frozen dessert making is actually quite easy and the results are definitely worth the effort. Here are five simple tips to make your own dairy-free ice cream at home:
How to Make Dairy-Free Ice Cream
1. Choose a base
First, choose a base for your ice cream. For richer ice cream, consider coconut milk, raw cashews or full-fat soy milk. For lighter ice cream, you can use almond milk or low-fat soymilk, though they might not provide that rich flavor you’re looking for. For cashew bases, you’ll need to purée the cashews with ¼ the amount of water used per cup of cashews. Allow for at least one cup of cashews per batch to make a non-strained cashew milk base. Then you can add whatever mix-ins you choose!
For full-fat coconut milk or soy milk, use ready-to-drink options or make your own dairy-free milk at home. Note that for lighter non-dairy milk base choices—such as almond, light soy,or oat milk—you may need to use more mix-ins to get a richer, thicker ice cream.
If you prefer a non-fat base and want to use all fruit, you can definitely do that too. This method works very well without much fuss or trial and error. If going this route, just be sure to freeze your fruit first and use at least one of the following creamy bases: frozen mangoes or frozen bananas.
2. Choose your sweetener
There’s no shortage of sweeteners to choose from to make your dairy-free ice cream. If you prefer not to use cane sugar (which is usually used by manufacturers), maple syrup or agave nectar work quite well. Puréed Medjool dates (date paste) or date syrup also work very well and are a healthier option than using a more refined sweetener. If you’re using all fruit as your base, you won’t need to add any additional sweetener unless you choose to do so. The amount of sweetener you use will depend on your personal preferences and your base (above). Start out with ¼ cup per cup of ice cream and adjust from there as needed.
Tip: Don’t use stevia, sugar alcohols or other calorie-free sweeteners in non-dairy ice cream. They tend to not combine well, are harder to measure and won’t provide the necessary mouthfeel that a natural sweetener or fruit will provide. This is one reason that manufacturers who use these sweeteners in dairy-free ice creams have to add additional gums and emulsifiers that aren’t good for health to provide the right texture and mouthfeel.
3. Choose your equipment
If you have an ice cream maker at home, great! You’re ready to go. Follow the manufacturer’s directions to make your ice cream at home; simply use non-dairy ingredients such as those above instead of dairy-based options. Depending on the model you have, directions for dairy-free ice cream options may even be provided in the instruction manual.
If you don’t have an ice cream maker, you can use either use a high-powered blender such as a Vitamix and use the tamper, or you can use a high-quality food processor, such as a Cuisinart (as long as it’s at least a 7-cup size model). Both of these methods work very well, you’ll just need to reduce the amount of liquid used before freezing.
If you’re using a blender or food processor, freeze your non-dairy milk base of choice (such as cashew milk, coconut milk or soy milk) in ice cubes first before adding to the blender or food processor to help make thicker ice cream. The only base you won’t need to do this with is frozen fruit which blends quite easily in a food processor or blender without the need for additional non-dairy milk. Once you process the ingredients in your blender or food processor, simply freeze in a reusable container, covered, for at least 8 hours to set and then enjoy within a day or two.
Finally, the last method you can try is blending non-dairy milk and frozen fruit in a 1:3 cup ratio, then freeze that mixture in ice cube trays. After the mix freezes completely, add the frozen cubes back to a blender or food processor and blend or process the ingredients into a thick ice cream base. Enjoy right away or freeze this for at least 8 hours, covered, and scoop to enjoy!
4. Choose your mix-ins
When it comes to mix-ins, you have unlimited options! Some delicious dairy-free choices for dairy-free ice cream are non-dairy chocolate chips, unsweetened shredded coconut, dairy-free sprinkles, dairy-free marshmallows, dark chocolate chunks, frozen fruit chunks, fresh fruit chunks, chopped dates, nuts, seeds or coconut flakes. Get creative and choose whatever mix-ins you like, or opt for no mix-ins and use your choice of toppings instead!
5. Try delicious dairy-free toppings
There are many tasty dairy-free toppings. Some of the best choices include slivered or chopped nuts, dairy-free dark chocolate chips, fresh berries or banana slices, coconut flakes, natural sprinkles, or date syrup. You can also make your own dairy-free chocolate sauce by melting ¼ cup of pure dark chocolate or dark chocolate chips with 1-2 tsp. of coconut oil to make your own “magic shell” topping.

